Finance Staff Guide
Everything you can do, screen by screen, starting from login.
Login
The entry point to the system. Choose your module, then sign in with your email and password.
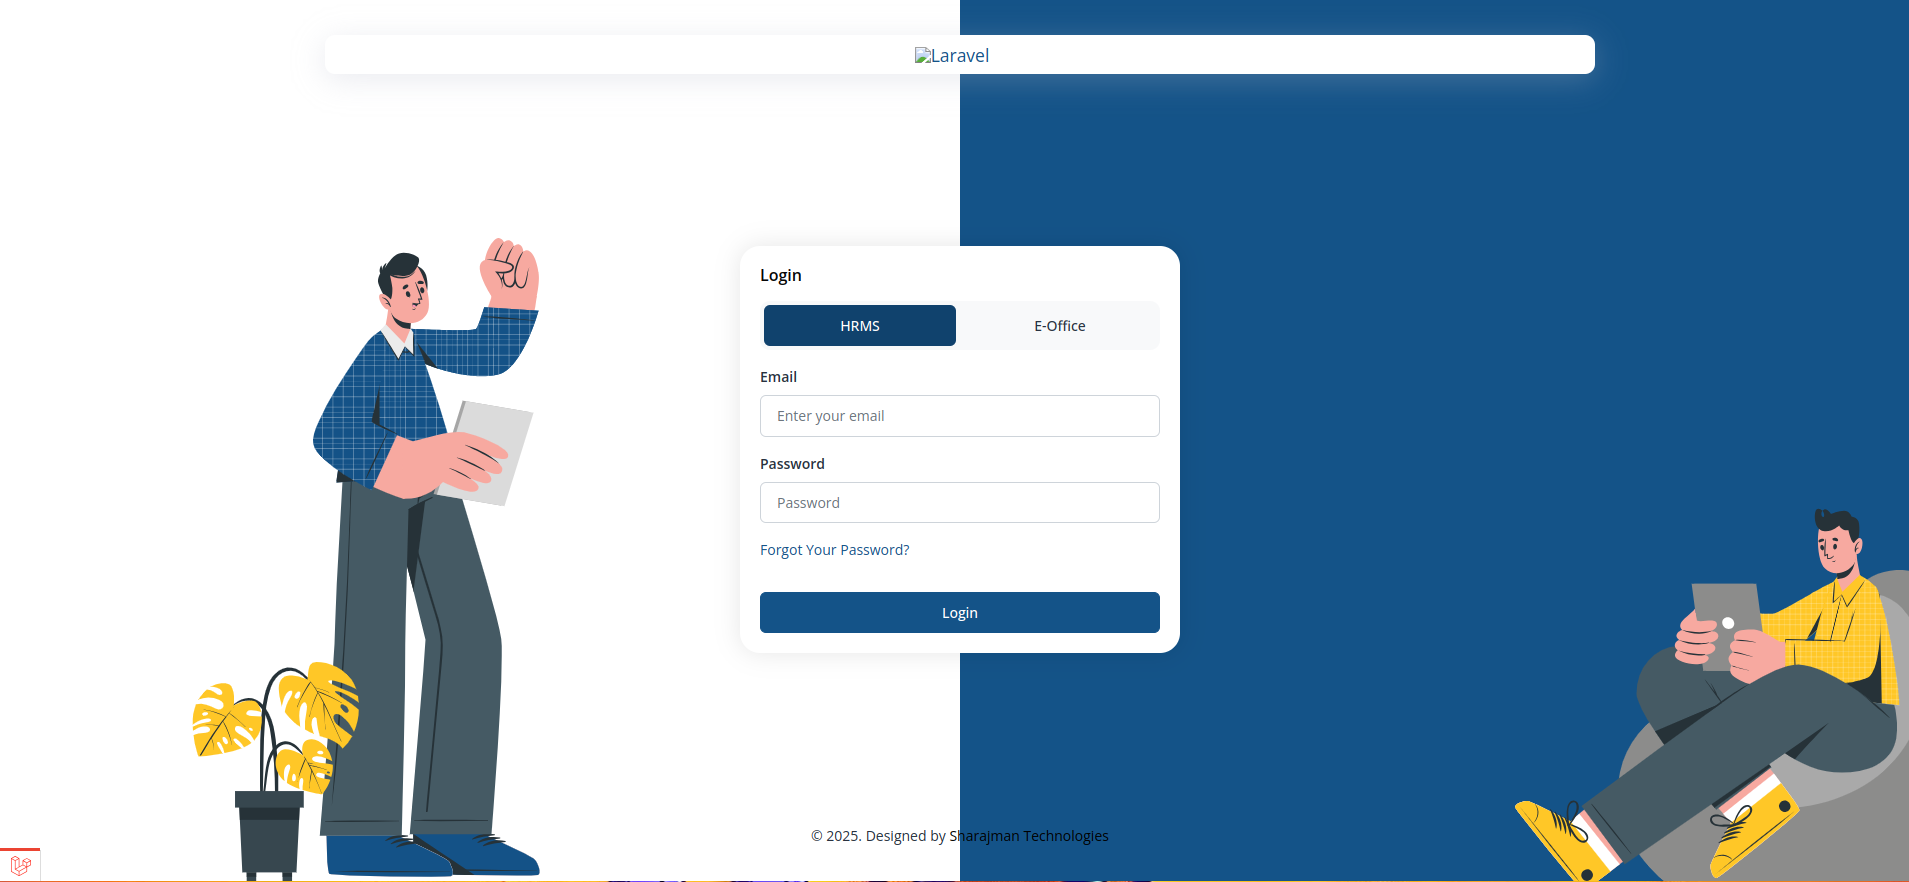
- Switch between HRMS and E-Office using the toggle at the top of the form before signing in.
- Enter your registered email address and password to log in.
- Use "Forgot Your Password?" to receive a password reset link by email.
- A security check (CAPTCHA) may appear before the Login button becomes active, depending on your organisation's settings.
- Select HRMS or E-Office using the toggle.
- Enter your email and password.
- Complete the security check if shown.
- Click Login.
Dashboard
Your home screen after login. Gives a Finance Staff a quick summary of what needs attention today.
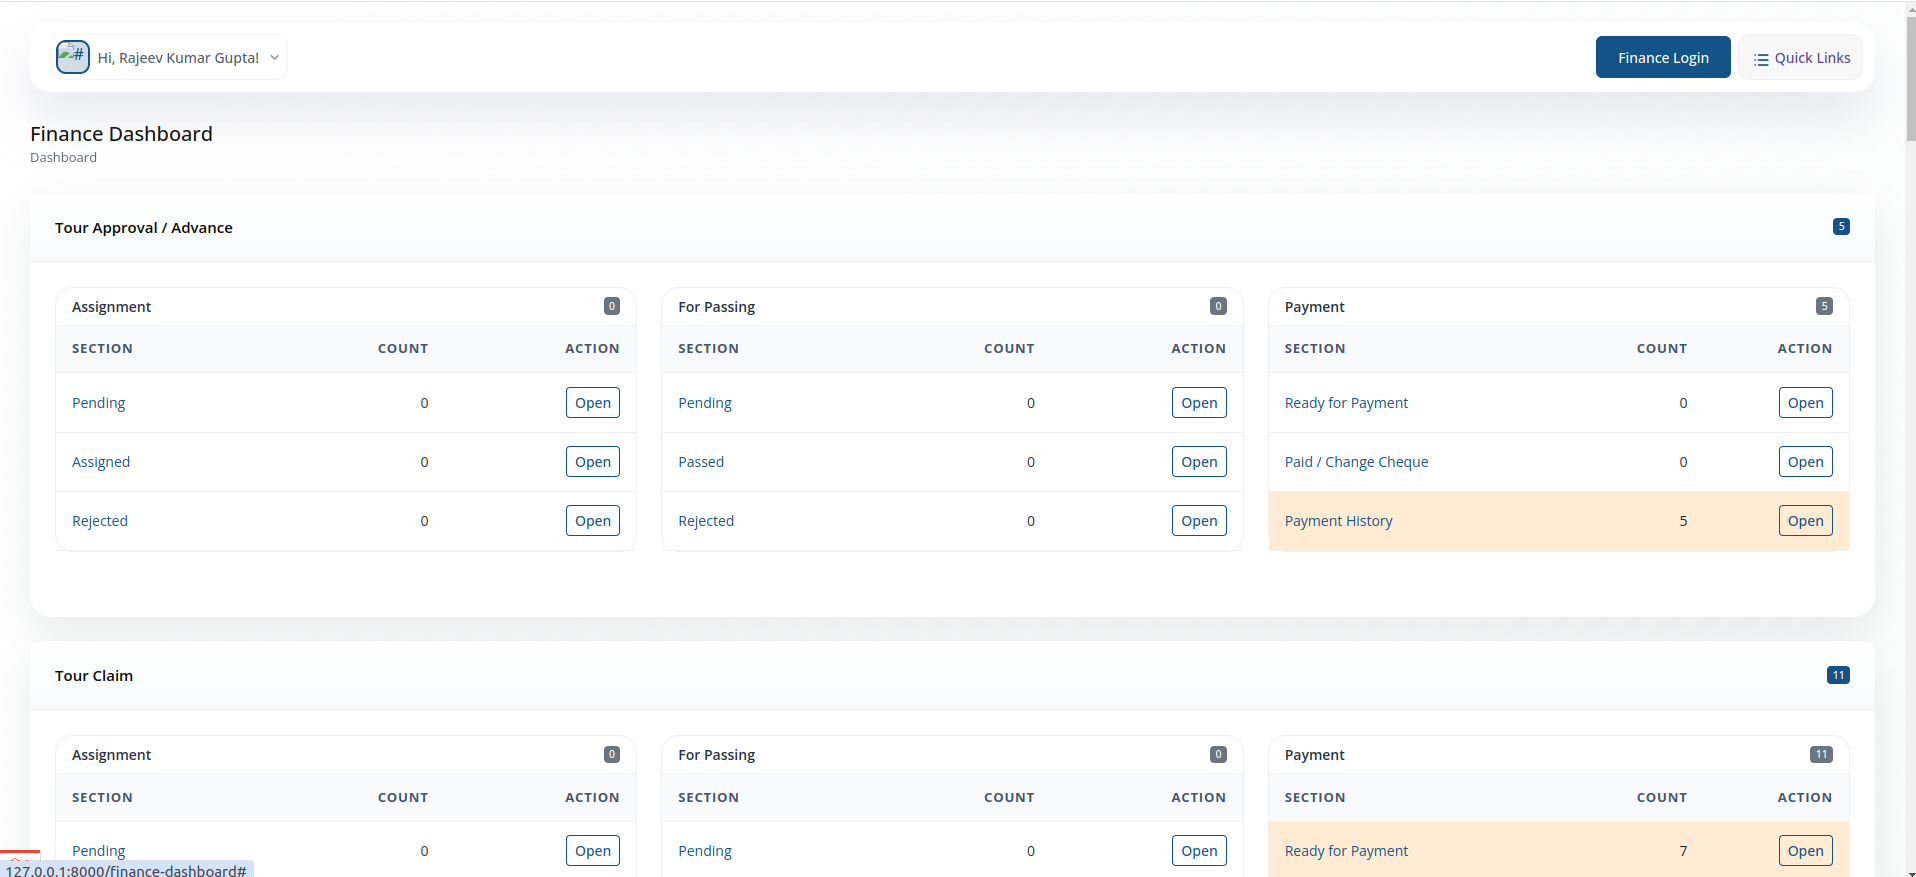
- Greeting and profile menu, top-left ("Hi, [Name]!").
- Finance Login toggle and Quick Links button in the top bar.
- Dashboard is organized into one section per claim/advance module (Tour Approval/Advance, Tour Claim, and so on for every module in the workflow list).
- Each module section shows a badge with the total pending count for that module (e.g. Tour Approval/Advance: 5, Tour Claim: 11).
- Within each module, three panels mirror the processing stages:
- Assignment — Pending, Assigned, Rejected counts, each with an Open button.
- For Passing — Pending, Passed, Rejected counts, each with an Open button.
- Payment — Ready for Payment, Paid / Change Cheque, Payment History counts, each with an Open button.
- Rows with a non-zero count are highlighted (e.g. "Payment History: 5", "Ready for Payment: 7") to draw attention to items needing action.
- Clicking Open on any row jumps straight into that specific queue for processing.
- The dashboard effectively works as a control panel across all claim types at once, rather than a single summary — you can see and act on every module's backlog from one screen.
Quick Links
Shortcut panel above the main menu (Finance Staff sign in via the "Finance Login" toggle).
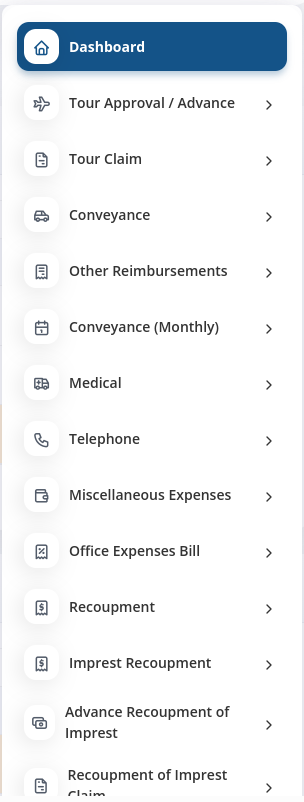
- Jump straight to frequently used claim types without navigating the full menu.
How claim processing works
Every claim/advance module below (Tour Claim, Conveyance, Medical, Recoupment, and so on) follows the same three-stage cycle. Learn it once — it applies everywhere.
- Assignment — claims land here first, grouped as Pending, Assigned, or Rejected, and are assigned to a Finance Staff member for processing.
- For Passing — the assigned claim is checked and passed for payment, or rejected. Grouped as Pending, Passed, or Rejected.
- Payment — passed claims are grouped as Ready for Payment, Paid / Change Cheque, or Payment History, until the payment is actually made.
Claim & advance modules
Each of these uses the Assignment → For Passing → Payment cycle explained above.
Each of these opens with the same Assignment → For Passing → Payment tabs — see "How claim processing works" above.
Bank Reports
Reporting on payments made through the bank.
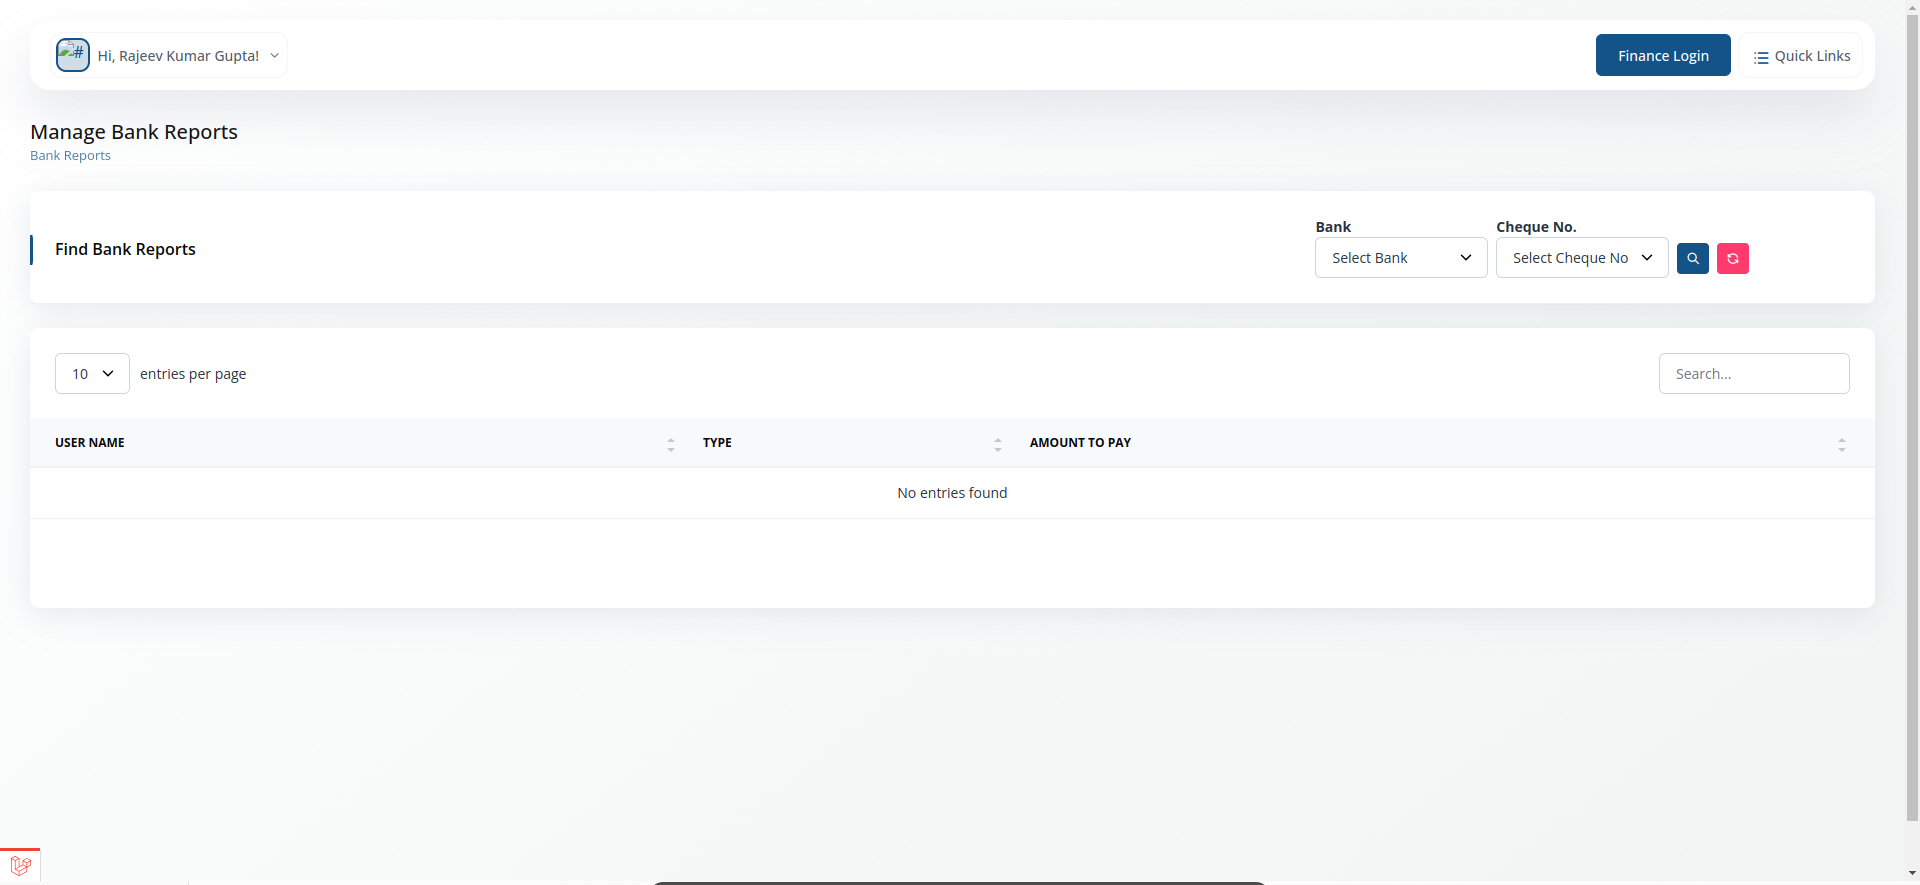
- Generate reports of payments processed, for reconciliation with bank statements.